Table of Contents
- Viewport
- Scenegraph Panel
- Attributes Panel
- Toolbar
- Terrain Editing
- User Attributes
- Animation Panel
- Particle System Panel
- Spline Editing
- Scripting
- Replace Dialog
- Interactive Placement
- Other functionality
- Keyboard short-cuts
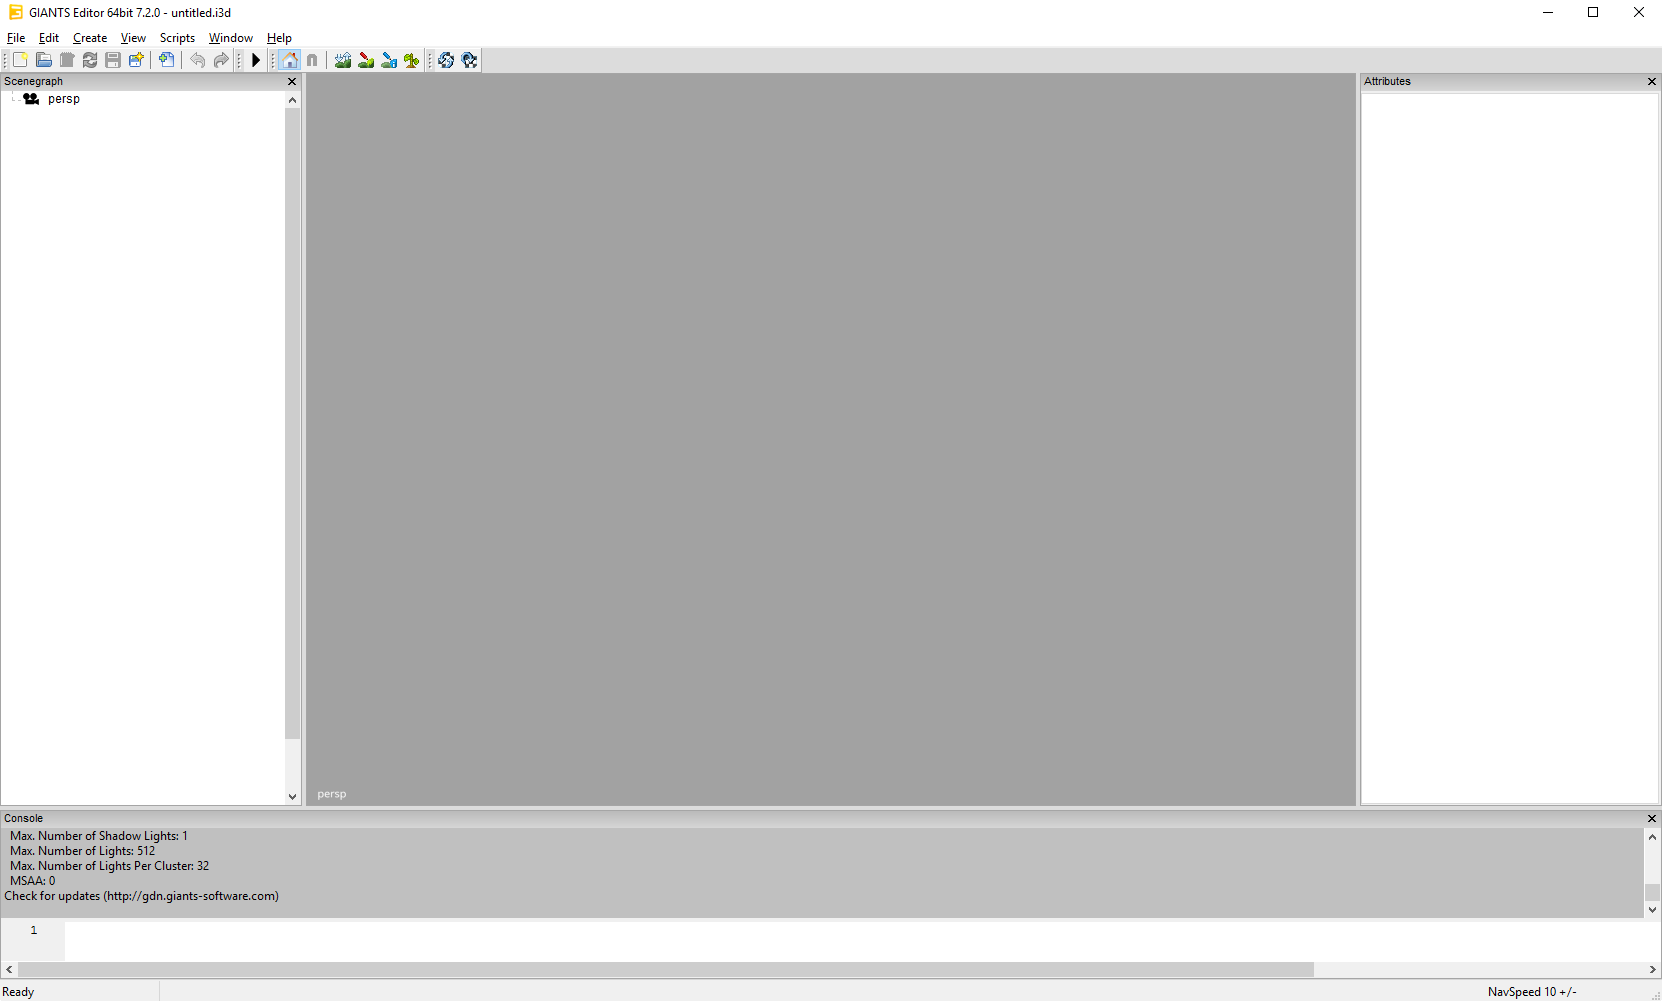
If you start up the Editor, you might not have all the panel windows open. To open other panel windows open the menu option window and enable the panel you want. You can adjust the width and height of the panels by dragging the outlines and if you want to close a window you can simply press the cross right of the panel name.
Viewport
Navigation
The navigation is quite like in Maya. If you have nothing open in your editor I suggest you quickly open a simple i3d file otherwise you won’t see much of an effect. If its to dark in your scene just create a light by going to Create–>Light.Some shortcuts:
LMB = Left Mouse Button
RMB = Right Mouse Button
MMB = Middle Mouse Button
Alt + LMB = Press and hold the Alt-Key and the left mouse button.
Alt + LMB rotates the camera.
Alt + RMB moves the camera forward and backward.
Alt + MMB causes the camera to pan.
If you don’t have a middle mouse button, you can press LMB and RMB instead.
View Options
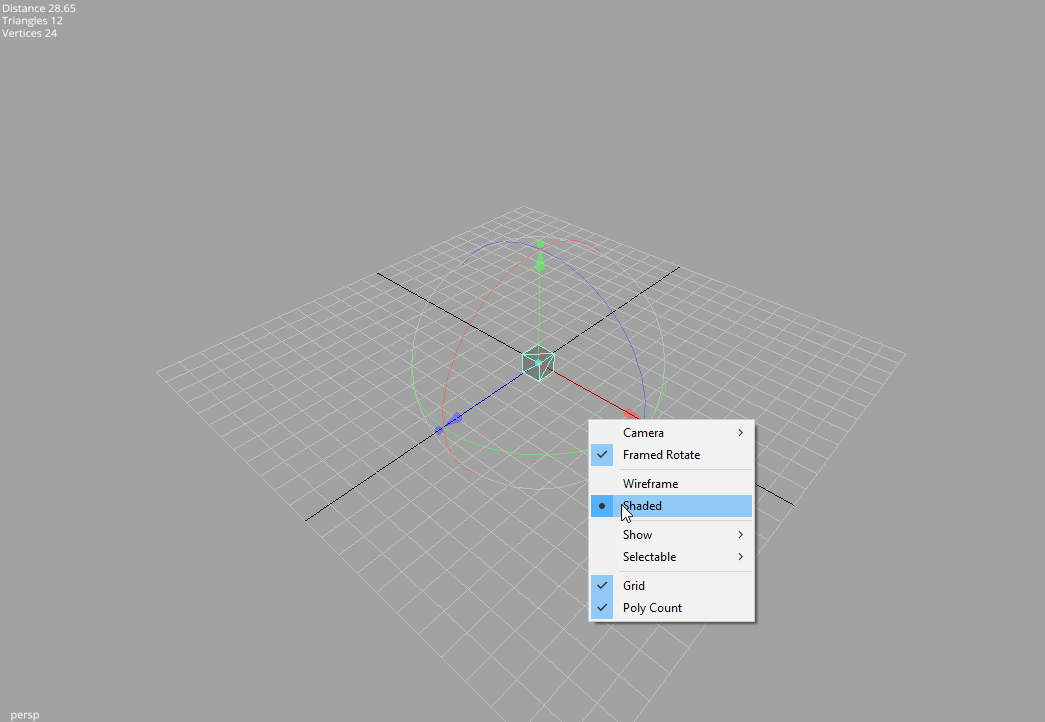
By simply right-clicking into the viewport panel you get the View Options. Sometimes it’s useful too use different cameras in a scene. You can create them once and then with the View Options you can choose the camera to view at your scene from different angles quickly.You might notice that if you rotate, the camera is rotated. If you have a big level this behaviour is very useful, but if you want to look at one particular object this can be quite awkward. To change the rotation to Framed Rotate you first have to select your object either by clicking on it directly or by choosing it from the scene-graph and the framing the selected object by pressing the F key. Now you can simply click (RMB) on the screen to open the View Options and choose Framed Rotate. Now the camera is rotating around your last framed object.
You can select the visual appearance of the object with Shaded (solid surface) or Wireframe (only edges of the object are visible)
If you have large scenes, you can toggle the visibility of lights, audio sources, physics and the cameras by checking them on the show submenu.
You can also use the Selectable submenu to toggle whether you can select lights, audio sources or cameras.
Furthermore you can toggle the grid and the polycount on and off.
Profile gives you the ability to choose different hardware profiles adequate for your system.
Debug can be used to find errors (e.g. on your 3D model)
Scenegraph Panel
A very useful feature of the GIANTS Editor is the scenegraph. If you don’t have it on the screen, just go to menu window and hit scenegraph. It is basically the same you have in Maya. It shows all objects you have in your scene and also the parent-child relationship between your objects.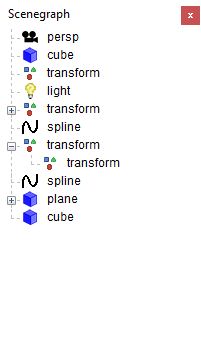
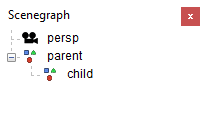
Let’s just make a little scene with some Transform Groups. The Transform Group is the basic building block of your scene. You can use a TransformGroup to move all the attached objects just by moving the Transform Group since the children inherit the transformations of the parent. To create a new Transform Group go to Create and hit TransformGroup. Now you can see it in the Scenegraph, its name is transform. To change the name just select it and go to the attributes panel. At the very top of the panel you can choose the name of your object. Make two TransformGroups and name them Parent and Child. If you move them around you see that their transformations are independent, the movement of the parent doesn’t affect the child. Now let’s make the appropriate relationship between the two. Select the child in the scenegraph panel and go to Edit->Cut. Now select your parent and hit Edit->Paste. Additionally by pressing MMB on the child, dragging it over parent and releasing MMB, the same as above will happen.
As you can see now, the child is now connected to the parent. If you now move around the parent, the transformation of the child is affected too whereas the child can be moved around without affecting the parent.
There can be 6 types of objects in your scene: Triangle Meshes, Splines, Cameras, Transform Groups, Lights, Terrains and Audio Sources.
It is also possible to use CTRL + C to copy objets, CTRL + X to cut objects and CTRL + V to paste objects. Notice that pasted objects are always children of the currently selected object. If you want to paste an object on the highest hierarchy level of the scenegraph be sure that nothing is selected in the scenegraph. This can be achieved by clicking at an empty space in the scenegraph panel.
Attributes Panel
If you don’t see the attributes panel go to Windows->Attributes then select an object in the scenegraph or the viewport. One important thing to notice is, that if the background color of an attribute turns red, you entered a value that isn’t allowed. (eg scale values other than 1 for a dynamic rigid body object) The background color of animated attributes is yellow.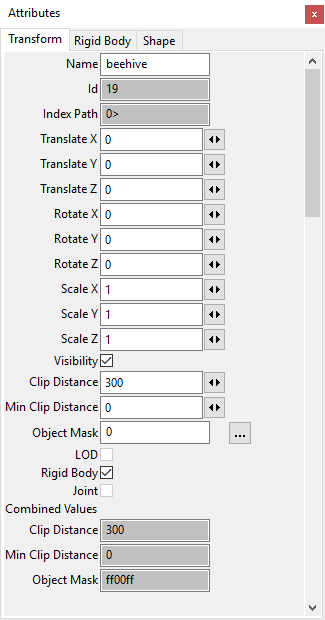
Toolbar

The toolbar looks like this. If your pointing on the icons with your mouse, a text with the functionality of the tool is displayed.
Let’s quickly go through them from left to right.
File Operations
- Create a new i3d file
- Open an existing i3d file
- Open i3d file in text editor
- Reload i3d file
- Save the i3d file
- Save i3d file as
- Import an i3d file
- Undo last action
- Redo last action
- Play/Stop
Toggle Local- World Mode
A handy tool is the toggle Local- World Mode, it changes the orientation of the viewport transform gizmo from the local space of your object to world space.
Grid Snapping
Use this option to snap objects to a predefined grid.
Terrain and Terrain Foliage
- Terrain Sculpt Mode
- Terrain Detail Texture Paint Mode
- Terrain Info Layer Paint Mode
- Terrain Foliage Paint Mode
- Reload all textures
- Reload textures of selected objects
- Open Script Editor
Terrain Editing
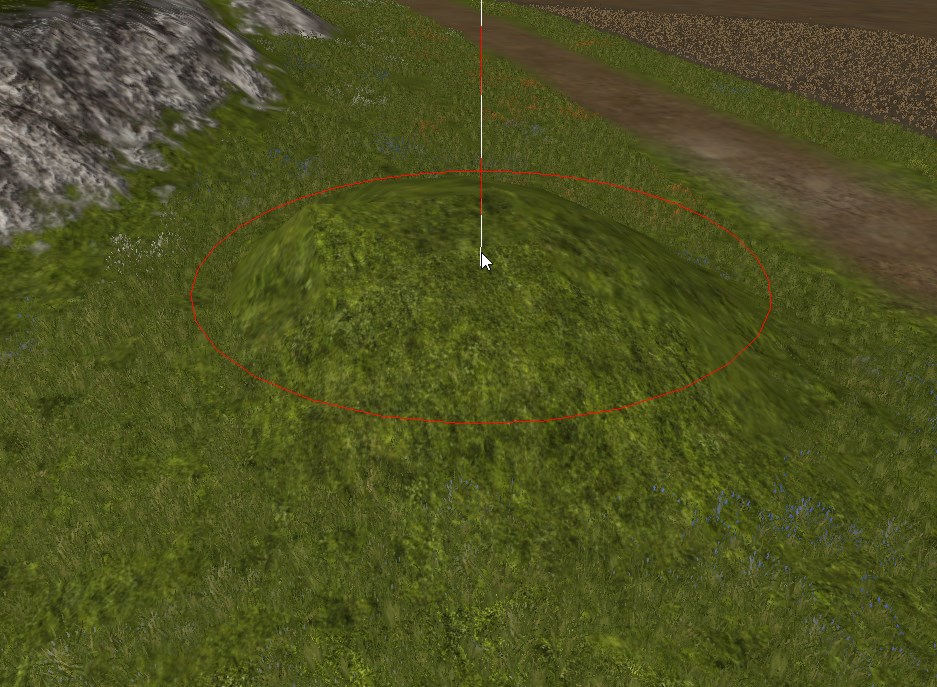
To test the terrain sculpting, just open the terrain test scene. Now you have a terrain to play with. Open the terrain editing panel with window->Terrain Editing. (If the scenegraph panel is still open it might cut off a bit, just close it to get more space.)
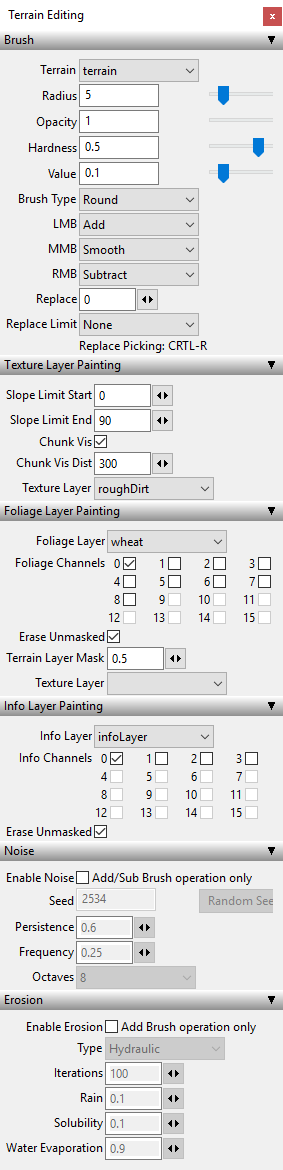
If the terrain sculpt mode is active now, you can rise or lower the surface of your terrain by using RMB and LMB. MMB can be used to smooth and the value defines the force with which you pull or push. What happens here is, that you are painting a height map, that defines the height of each point of your terrain by giving it a grey-value. The attributes Opacity, Hardness and the Value are defining the "brush" you are painting the height map with. Just play around with the setting. You can change the radius of the brush with the shortcuts "V" and "B" and you can change the opacity value of the brush quickly with "N" and "M".
In the terrain texture paint mode next to the terrain sculpt icon you can colorize your terrain with different textures.
The used texture layers are defined in the i3d-file. (If you want to change the texture layers, you have to open the i3d with a text editor and change the layers there) Just choose your texture and paint onto your terrain. With the Chunk vis checkbox on, you can see exactly which texture layers you used in a chunk by what amout. You can use as many texture layers as you want, but you are limited to a maximum of four texture layers per chunk.
With the Terrain Foliage Paint Mode active, you can paint your foliage onto your terrain, it`s the same thing as if you would paint onto your terrain - not with a texture but with foliage. LMB adds foliage, RMB removes foliage.
User Attributes
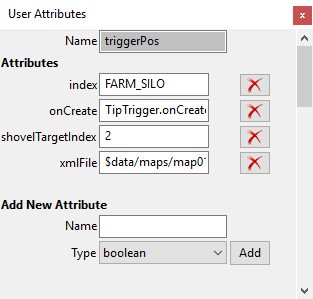
The user attributes panel is typically not visible if you open the editor for the first time. So go to Windows->User Attributes. Select an object in the scenegraph to see its user attributes.
User Attributes can be defined in the editor and then be used in the engine (eg. within a script). This enables you to define object specific attributes for every object in the scene.
Animation Panel
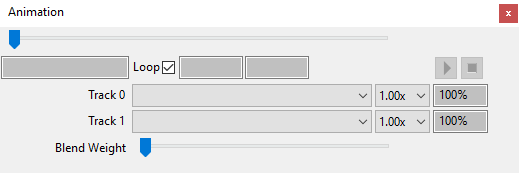
You can preview animation sets with the animation panel.
Particle System Panel
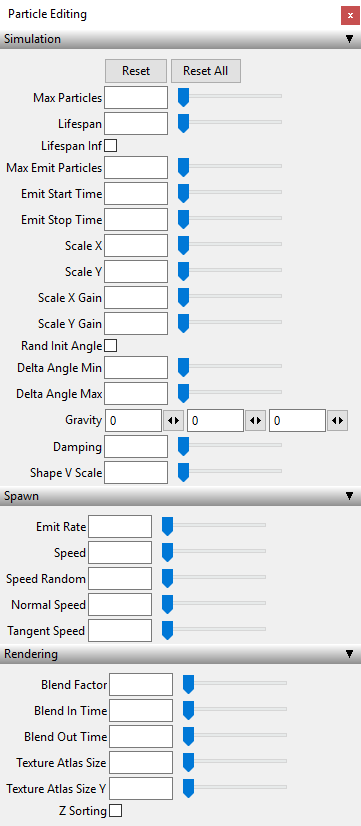
The particle system panel allows you to edit particle systems with real time preview.
Spline Editing
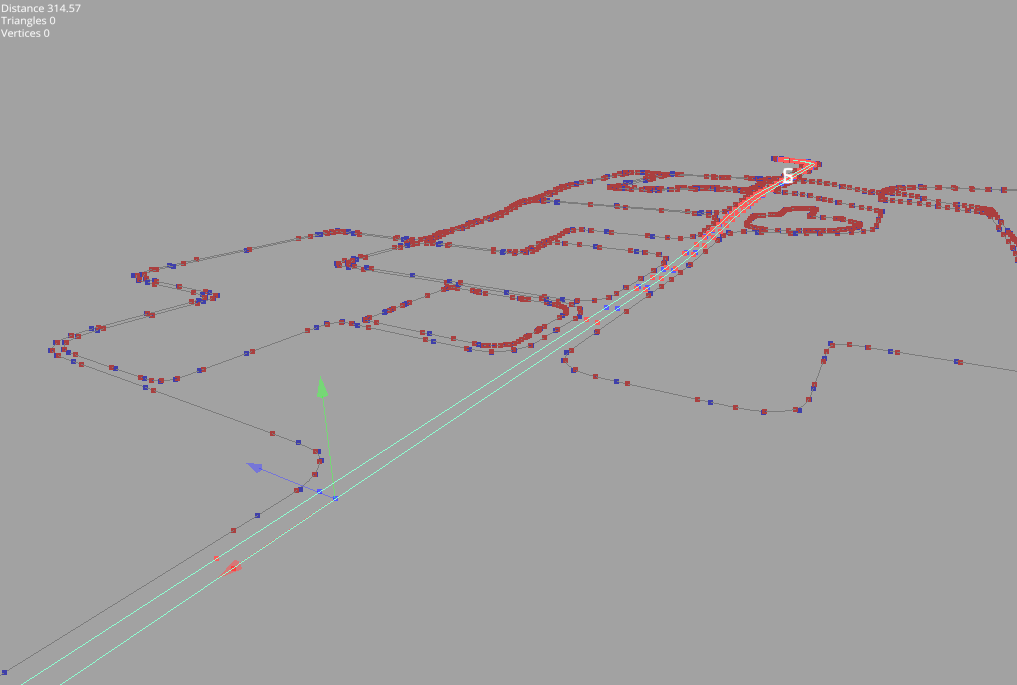
You can edit splines by picking a control vertex (CV) of a spline an moving it around. Delete or insert new control vertices with the keys delete and insert.
Scripting
Here you can execute script snippets. With ENTER, you can add new lines. SHIFT+ENTER will execute the code in the text field.Type in the following:
print("hello world from the GIANTS Editor");
Then hit SHIFT + ENTER and the string is printed out above.
The scripting can be useful for many things. For example you can run this script snippet to test the fog settings in an i3d scene:
setFog("exp2", 0.002, 0, 0.8, 0.81, 0.97);
Replace Dialog
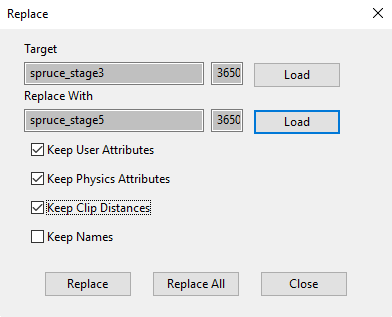
If you want to replace an object in your scene, you can go to Edit->Replace to open the replace panel. Select the object you want to replace, then hit load. Do likewise with the object you want to replace with and choose whether you want to keep the User Attributes or not. Now you can replace one single object by hitting replace or you can replace all objects that are similar to the one you selected by hitting replace all.
Note: replace all does only work with single objects, but not with hierarchies of objects, however the single replace function works.
This feature is quite useful because you can use it to substitute an object reference feature within your i3d scene file.
Interactive Placement
This is a really nice feature of the editor, you should try it at least once!To place an object on the surface of another object, you can simply select the object you want to place and then press CTRL + B + LMB, while pointing at your desired location. The selected object will then instantly be set to the location you’ve chosen.
Hint: you can do this with all your objects within your scenegraph and also with the camera or light sources. E.g. you can select the current camera and then place the camera at a location far away, allowing for fast relocation of the camera.
If you keep the LMB pressed and hit SHIFT or CRTL you can clone the selected object at the currect mouse position. SHIFT will just clone the object while CRTL will add a random rotation in the Y-axis. (Useful feature if you want to create a group with hundreds of randomly rotated objects like a forest)
Other functionality
Edit->Clear History: This clears the undo/redo history.
Edit->Move to Camera: Moves the selected object in front of the current camera
Navigation Speed: Moves the camera faster or slower. Use - and + to ajust the speed.
Default keyboard short-cuts
| Key | Function |
|---|---|
| W A S D | Navigation |
| Alt + LMB | Rotate camera |
| Alt + MMB | Pan camera |
| Alt + RMB | Zoom camera |
| Alt + LMB + RMB | Move camera up or down and left or right camera |
| F | Frame selected object |
| - | Decrease navigation speed |
| + | Increase navigation speed |
| 4 | Wireframe mode |
| 6 | Shaded mode |
| Ctrl-S | Save |
| Ctrl-Z | Undo |
| Ctrl-W | Replace Dialog |
| Ctrl-X | Cut |
| Ctrl-C | Copy |
| Ctrl-V | Paste |
| Ctrl-Shift-C | Copy X,Y,Z components at once |
| Ctrl-Shift-V | Paste X,Y,Z components at once (can also be copied from a text source in the format "x y z") |
| Delete | Delete |
| Ctrl-D | Duplicate |
| Ctrl-F | Move to Camera |
| Ctrl-B | Interactive placement (hold left mouse button to move around) |
| Shift | Interactive placement paint |
| Ctrl | Interactive placement paint with random rotation around y axis |
| Ctrl-H | Hide object |
| Shift-H | Show object |
| Ctrl-G | Group objects |
| Ctrl-R | Pick replace value in viewport (Terrain edit modes) |
| V | Decrease brush radius |
| B | Increase brush radius |
| N | Decrease brush opacity |
| M | Increase brush opacity |
| F8 | Toggle stats |
| Shift + Enter | Execute Script (Script Window) |
| X | Absolute grid snapping |
| J | Relative grid snapping |
| Delete | Delete spline control vertex |
| Insert | Insert new spline control vertex |
| Left | Previous spline control vertex |
| Right | Next spline control vertex |
| Up or Down | First spline control vertex |
| S | Stitch spline endpoints |
| O | Toggle spline open/close |
| R | Reverse spline |
| Ctrl-L | Create light |